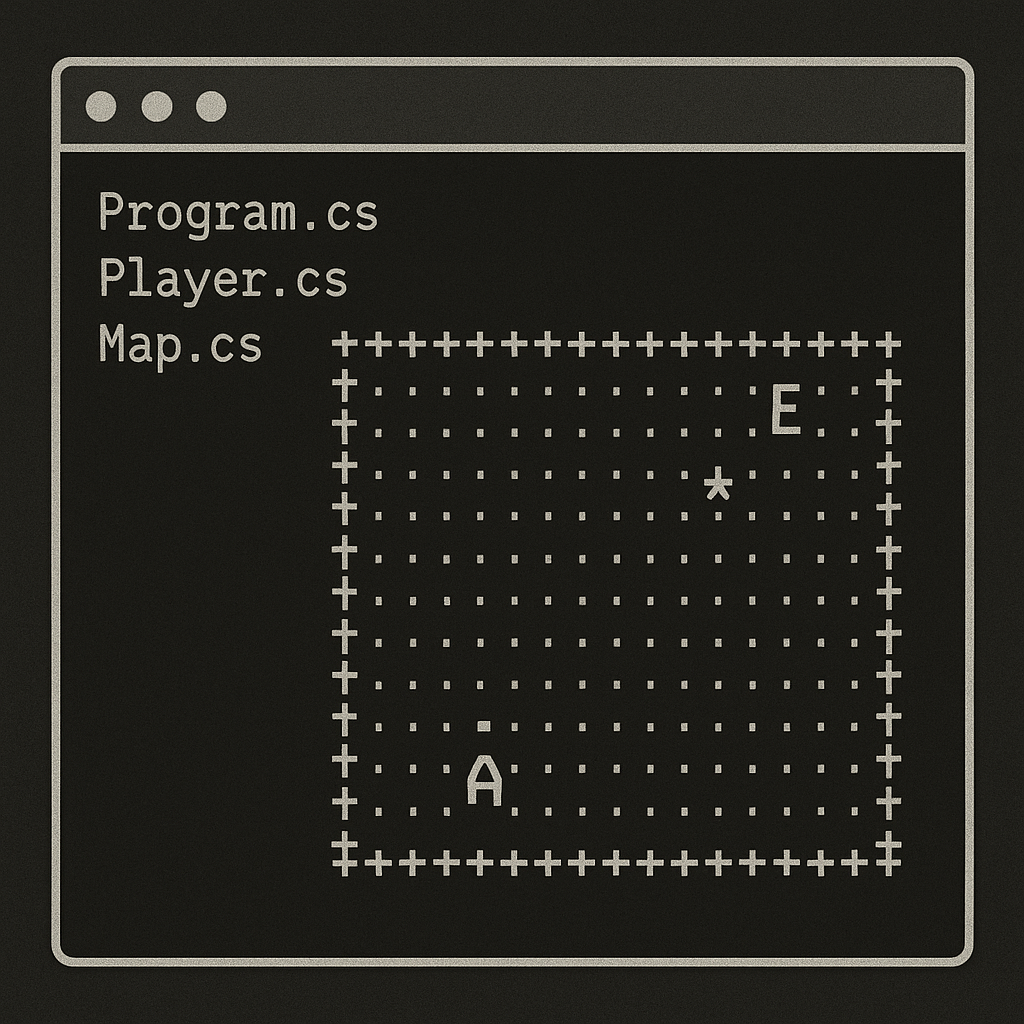
ASCIIダンジョン・エクスプローラー
目次
チュートリアルの目的
- C# コンソールアプリ上での “ビジュアル” なゲームづくりを通じて、
- 継承(Inheritance)
- ポリモーフィズム(Polymorphism)
- カプセル化(Encapsulation)
- 抽象クラス(Abstract Class)など、オブジェクト指向の基本原則を体感する
✅ 前提条件
- C# の基礎(変数、if 文、for/while ループ)が分かる
- Visual Studio 2022 以降、または VS Code + .NET SDK がインストール済み
- 基本的なコンソール入出力 (Console.WriteLine / Console.ReadKey) が使える
📦 プロジェクトのセットアップ
- 新規コンソールプロジェクトを作成
AsciiDungeonExplorer- Program.cs は空のままにし、以下のフォルダ構成を用意
/Models
  Entity.cs
  Player.cs
  Enemy.cs
  Item.cs
/Core
  Game.cs
  Map.cs
  Renderer.cs
  InputHandler.cs
Program.cs
1. 抽象基底クラス Entity の定義
// Models/Entity.cs
using System.Numerics;

namespace AsciiDungeonExplorer.Models
{
    public abstract class Entity
    {
        public Vector2 Position { get; protected set; }
        public char Symbol { get; protected set; }
        public bool IsAlive { get; protected set; } = true;

        // 毎フレーム呼ばれる更新処理
        public abstract void Update(Game game);

        // 他エンティティと接触したときの処理
        public abstract void OnInteract(Entity other, Game game);
    }
}- ポイント:abstract にすることで、直接インスタンス化できず、必ず派生クラスで Update/OnInteract を実装させる
2. プレイヤー Player クラス
// Models/Player.cs
using System;
using System.Numerics;

namespace AsciiDungeonExplorer.Models
{
    public class Player : Entity
    {
        public int HP { get; private set; } = 20;
        public int AttackPower { get; private set; } = 5;

        public Player(Vector2 startPos)
        {
            Position = startPos;
            Symbol = '@';
        }

        public override void Update(Game game)
        {
            var dir = game.Input.GetDirection();
            var newPos = Position + dir;
            if (game.Map.IsWalkable(newPos))
                Position = newPos;
        }

        public override void OnInteract(Entity other, Game game)
        {
            if (other is Enemy e)
            {
                e.HP -= AttackPower;
                if (e.HP <= 0) e.IsAlive = false;
            }
            else if (other is Item it)
            {
                HP = Math.Min(20, HP + it.Value);
                it.IsAlive = false;
            }
        }
    }
}- ポイント:入力処理は外部の InputHandler に委譲し、攻撃や回復は OnInteract で実装
3. 敵 Enemy クラス
// Models/Enemy.cs
using System.Numerics;

namespace AsciiDungeonExplorer.Models
{
    public class Enemy : Entity
    {
        public int HP { get; set; } = 10;
        public int AttackPower { get; private set; } = 3;

        public Enemy(Vector2 startPos)
        {
            Position = startPos;
            Symbol = 'E';
        }

        public override void Update(Game game)
        {
            var toPlayer = game.Player.Position - Position;
            var dir = new Vector2(Math.Sign(toPlayer.X), Math.Sign(toPlayer.Y));
            var newPos = Position + dir;
            if (game.Map.IsWalkable(newPos))
                Position = newPos;
        }

        public override void OnInteract(Entity other, Game game)
        {
            if (other is Player p)
            {
                p.HP -= AttackPower;
                if (p.HP <= 0) p.IsAlive = false;
            }
        }
    }
}- ポイント:非常にシンプルな追跡 AI。Vector2 の符号付き移動で一歩ずつ近づく
4. アイテム Item クラス
// Models/Item.cs
using System.Numerics;

namespace AsciiDungeonExplorer.Models
{
    public class Item : Entity
    {
        public int Value { get; private set; }

        public Item(Vector2 startPos, int healAmount)
        {
            Position = startPos;
            Symbol = '*';
            Value = healAmount;
        }

        public override void Update(Game game)
        {
            // 固定。寿命管理を入れたいときはここで実装
        }

        public override void OnInteract(Entity other, Game game)
        {
            if (other is Player p)
            {
                p.HP = Math.Min(20, p.HP + Value);
                IsAlive = false;
            }
        }
    }
}
5. マップと描画ロジック
// Core/Map.cs
using System;
using System.Numerics;

namespace AsciiDungeonExplorer.Core
{
    public class Map
    {
        private char[,] _tiles;
        public int Width => _tiles.GetLength(1);
        public int Height => _tiles.GetLength(0);

        public Map(string[] raw)
        {
            var h = raw.Length; var w = raw[0].Length;
            _tiles = new char[h, w];
            for (int y = 0; y < h; y++)
                for (int x = 0; x < w; x++)
                    _tiles[y, x] = raw[y][x];
        }

        public bool IsWalkable(Vector2 pos)
        {
            int x = (int)pos.X, y = (int)pos.Y;
            return x >= 0 && x < Width && y >= 0 && y < Height
                && _tiles[y, x] != '#';
        }

        public char GetTile(int x, int y) => _tiles[y, x];
    }
}

// Core/Renderer.cs
using System;
using System.Linq;

namespace AsciiDungeonExplorer.Core
{
    public class Renderer
    {
        public void Draw(Map map, Entity[] entities)
        {
            Console.Clear();
            for (int y = 0; y < map.Height; y++)
            {
                for (int x = 0; x < map.Width; x++)
                {
                    var e = entities.FirstOrDefault(ent =>
                        ent.IsAlive && ent.Position == new Vector2(x, y));
                    Console.Write(e != null ? e.Symbol : map.GetTile(x, y));
                }
                Console.WriteLine();
            }
        }
    }
}
6. 入力&ゲームループ
// Core/InputHandler.cs
using System;
using System.Numerics;

namespace AsciiDungeonExplorer.Core
{
    public class InputHandler
    {
        public Vector2 GetDirection()
        {
            var key = Console.ReadKey(true).Key;
            return key switch
            {
                ConsoleKey.W => new Vector2(0, -1),
                ConsoleKey.S => new Vector2(0, 1),
                ConsoleKey.A => new Vector2(-1, 0),
                ConsoleKey.D => new Vector2(1, 0),
                _ => Vector2.Zero
            };
        }
    }
}

// Core/Game.cs
using System.Linq;
using AsciiDungeonExplorer.Models;

namespace AsciiDungeonExplorer.Core
{
    public class Game
    {
        public Map Map { get; }
        public Player Player { get; }
        public InputHandler Input { get; } = new();
        private Entity[] _entities;
        private Renderer _renderer = new();

        public Game(Map map, Player player, Entity[] others)
        {
            Map = map; Player = player;
            _entities = new Entity[] { player }.Concat(others).ToArray();
        }

        public void Run()
        {
            while (Player.IsAlive)
            {
                _renderer.Draw(Map, _entities);
                Player.Update(this);
                foreach (var e in _entities.Where(e => e != Player && e.IsAlive))
                {
                    e.Update(this);
                    if (e.Position == Player.Position)
                        e.OnInteract(Player, this);
                }
                // 衝突判定プレイヤー側
                foreach (var e in _entities.Where(e => e != Player && e.IsAlive))
                    if (e.Position == Player.Position)
                        Player.OnInteract(e, this);

                if (Player.Position == new Vector2(Map.Width - 2, Map.Height - 2))
                {
                    Console.Clear();
                    Console.WriteLine("ダンジョンクリア!");
                    return;
                }
            }
            Console.Clear();
            Console.WriteLine("ゲームオーバー…");
        }
    }
}
7. Program.cs で起動
using System;
using System.Numerics;
using AsciiDungeonExplorer.Core;
using AsciiDungeonExplorer.Models;

class Program
{
    static void Main()
    {
        var rawMap = new[]
        {
            "####################",
            "#@.......#.........#",
            "#.#####..#.#####...#",
            "#...*....#.....E...#",
            "#.###.######.###.###",
            "#.....#....#.......#",
            "####################"
        };
        var map = new Map(rawMap);
        var player = new Player(new Vector2(1,1));
        var others = new Entity[]
        {
            new Enemy(new Vector2(17,3)),
            new Item(new Vector2(5,3), healAmount: 10)
        };
        var game = new Game(map, player, others);
        game.Run();
        Console.WriteLine("Enterキーで終了...");
        Console.ReadKey(true);
    }
}
🚀 実践&拡張課題
- マップ自動生成:迷宮生成アルゴリズムを導入して毎回異なるマップに挑戦。
- 複数の敵・アイテム:List<Entity> にしてランダムな数を配置。
- レベルアップ要素:経験値をためて Player のステータスを強化。
- トラップ・鍵・ドア:インタラクションの幅を広げる。
- セーブ/ロード:ゲーム進行の状態をファイルに保存・復元。
以下に、記事「ASCIIダンジョン・エクスプローラー」の実践&拡張課題(全5項目)に対するサンプルを示します。各サンプルはあくまで一例ですので、実際の実装や演習用に適宜アレンジしてください。
1. マップ自動生成:迷宮生成アルゴリズムを導入
サンプル:深さ優先探索による迷路生成
// Core/MazeGenerator.cs
using System;
using System.Numerics;

namespace AsciiDungeonExplorer.Core
{
    public static class MazeGenerator
    {
        public static string[] Generate(int width, int height)
        {
            var rnd = new Random();
            // 2D グリッド:偶数座標を通路、奇数座標を壁に初期化
            char[,] maze = new char[height, width];
            for (int y = 0; y < height; y++)
                for (int x = 0; x < width; x++)
                    maze[y, x] = (x % 2 == 1 && y % 2 == 1) ? '.' : '#';

            void Carve(int cx, int cy)
            {
                var dirs = new[] { Vector2.UnitX, -Vector2.UnitX, Vector2.UnitY, -Vector2.UnitY };
                // ランダム順に回す
                foreach (var dir in dirs.OrderBy(_ => rnd.Next()))
                {
                    int nx = cx + (int)dir.X * 2, ny = cy + (int)dir.Y * 2;
                    if (nx > 0 && nx < width - 1 && ny > 0 && ny < height - 1 && maze[ny, nx] == '#')
                    {
                        maze[cy + (int)dir.Y, cx + (int)dir.X] = '.';
                        maze[ny, nx] = '.';
                        Carve(nx, ny);
                    }
                }
            }

            // 開始点
            maze[1, 1] = '.';
            Carve(1, 1);

            // string[] に変換して返却
            return Enumerable.Range(0, height)
                             .Select(y => new string(Enumerable.Range(0, width)
                                                              .Select(x => maze[y, x]).ToArray()))
                             .ToArray();
        }
    }
}
Program.cs の起動部を以下のように書き換え、毎回異なるダンジョンで挑戦できます。
var rawMap = MazeGenerator.Generate(width: 31, height: 15);
var map = new Map(rawMap);
// …以下は通常の起動処理…
2. 複数の敵・アイテム:List<Entity> にしてランダム配置
サンプル:ランダム数のエンティティ生成
// Program.cs (一部抜粋)
var rnd = new Random();
var entities = new List<Entity> { player };

// 敵をランダムに5~10体生成
int enemyCount = rnd.Next(5, 11);
for (int i = 0; i < enemyCount; i++)
{
    var pos = new Vector2(rnd.Next(1, map.Width - 1), rnd.Next(1, map.Height - 1));
    entities.Add(new Enemy(pos));
}

// 回復アイテムをランダムに3~6個生成
int itemCount = rnd.Next(3, 7);
for (int i = 0; i < itemCount; i++)
{
    var pos = new Vector2(rnd.Next(1, map.Width - 1), rnd.Next(1, map.Height - 1));
    entities.Add(new Item(pos, healAmount: rnd.Next(5, 16)));
}

var game = new Game(map, player, entities.Where(e => e != player).ToArray());
3. レベルアップ要素:経験値をためて Player のステータス強化
サンプル:経験値とレベルアップ実装
// Models/Player.cs に追加
public int Level { get; private set; } = 1;
public int XP { get; private set; } = 0;
private int[] xpThresholds = { 0, 50, 150, 300, 500 };

// 敵撃破時に呼び出し
public void GainXP(int amount)
{
    XP += amount;
    CheckLevelUp();
}

private void CheckLevelUp()
{
    while (Level < xpThresholds.Length && XP >= xpThresholds[Level])
    {
        Level++;
        HP = Math.Min(MaxHP, HP + 10);        // HP上限と回復量を増加
        AttackPower += 2;                     // 攻撃力を増加
        Console.WriteLine($"レベルアップ! 新しいレベル: {Level}");
    }
}

// OnInteract 内の敵撃破時処理を修正
public override void OnInteract(Entity other, Game game)
{
    if (other is Enemy e)
    {
        e.HP -= AttackPower;
        if (e.HP <= 0)
        {
            e.IsAlive = false;
            GainXP(20); // 敵1体撃破で20XP獲得
        }
    }
    else if (other is Item it)
    {
        // 回復処理…
    }
}
4. トラップ・鍵・ドア:インタラクションの幅を拡げる
サンプル:鍵と扉の実装例
// Models/Key.cs
public class Key : Entity
{
    public string DoorId { get; }
    public Key(Vector2 pos, string doorId)
    {
        Position = pos;
        Symbol = 'k';
        DoorId = doorId;
    }
    public override void Update(Game game) { }
    public override void OnInteract(Entity other, Game game)
    {
        if (other is Player p)
        {
            p.Inventory.Add(this);
            IsAlive = false;
            Console.WriteLine($"鍵を入手: {DoorId}");
        }
    }
}

// Models/Door.cs
public class Door : Entity
{
    public string Id { get; }
    public bool IsLocked { get; private set; } = true;
    public Door(Vector2 pos, string id)
    {
        Position = pos;
        Symbol = '#';
        Id = id;
    }
    public override void Update(Game game) { }
    public override void OnInteract(Entity other, Game game)
    {
        if (other is Player p && IsLocked)
        {
            var key = p.Inventory.FirstOrDefault(k => k.DoorId == Id);
            if (key != null)
            {
                IsLocked = false;
                Symbol = '/'; // 開いた扉
                p.Inventory.Remove(key);
                Console.WriteLine("扉を開けた!");
            }
        }
    }
}

// Player にインベントリ追加
public List<Key> Inventory { get; } = new();
5. セーブ/ロード:ゲーム進行の状態をファイルに保存・復元
サンプル:簡易シリアライズ(JSON)
// Core/SaveManager.cs
using System.IO;
using System.Text.Json;
using AsciiDungeonExplorer.Models;

namespace AsciiDungeonExplorer.Core
{
    public static class SaveManager
    {
        private const string SaveFile = "savegame.json";
        public static void Save(GameState state)
        {
            var json = JsonSerializer.Serialize(state);
            File.WriteAllText(SaveFile, json);
        }
        public static GameState Load()
        {
            if (!File.Exists(SaveFile)) return null;
            var json = File.ReadAllText(SaveFile);
            return JsonSerializer.Deserialize<GameState>(json);
        }
    }

    public class GameState
    {
        public string[] RawMap { get; set; }
        public PlayerState Player { get; set; }
        public List<EntityState> Entities { get; set; }
    }

    // PlayerState, EntityState は Position や HP、種別を持つ DTO
}
Program.cs の例:
// 起動時にロードを試みる
var saved = SaveManager.Load();
if (saved != null)
{
    // GameState を元にマップ・Player・Entity[] を復元…
}
else
{
    // 通常の初期化…
}

// ゲーム終了時、セーブを実行
SaveManager.Save(currentGame.ToGameState());このチュートリアルを通じて、オブジェクト指向設計の力強さと拡張性を体感し、自分なりの機能追加にもぜひ挑戦してみてください。
訪問数 22 回, 今日の訪問数 1回