Winフォームアプリのコントロールクラス(Control)
フォームアプリ作成の時、ツールボックスからコントロールをドラッグ&ドロップして初期の画面を構成していると思いますが、実行時にコントロールを発生させたいこともあります
サンプルを通して、その方法を学んでいきましょう
オブジェクト指向のメリットを感じることができればいいですね
既存のButtonコントロールを使って学習します
新規でプロジェクトを起動します
デザイナー
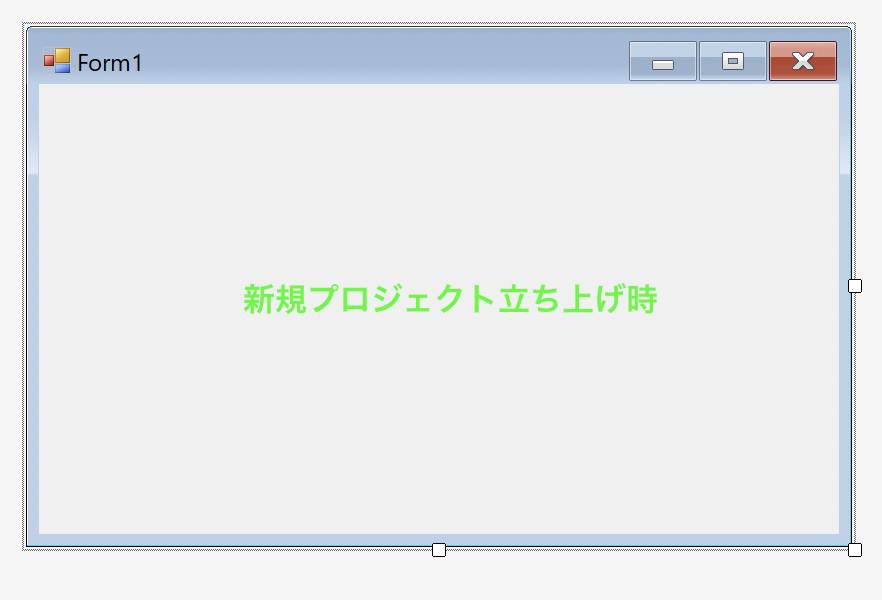
Form1クラスのInitializeComponentメソッドのコード (Form1.Designer.cs)
private void InitializeComponent()
{
    this.SuspendLayout();
    //
    // Form1
    //
    this.AutoScaleDimensions = new System.Drawing.SizeF(13F, 24F);
    this.AutoScaleMode = System.Windows.Forms.AutoScaleMode.Font;
    this.ClientSize = new System.Drawing.Size(800, 450);
    this.Name = "Form1";
    this.Text = "Form1";
    this.ResumeLayout(false);

}
ドラッグ&ドロップでButtonコンポーネントを追加
デザイナー
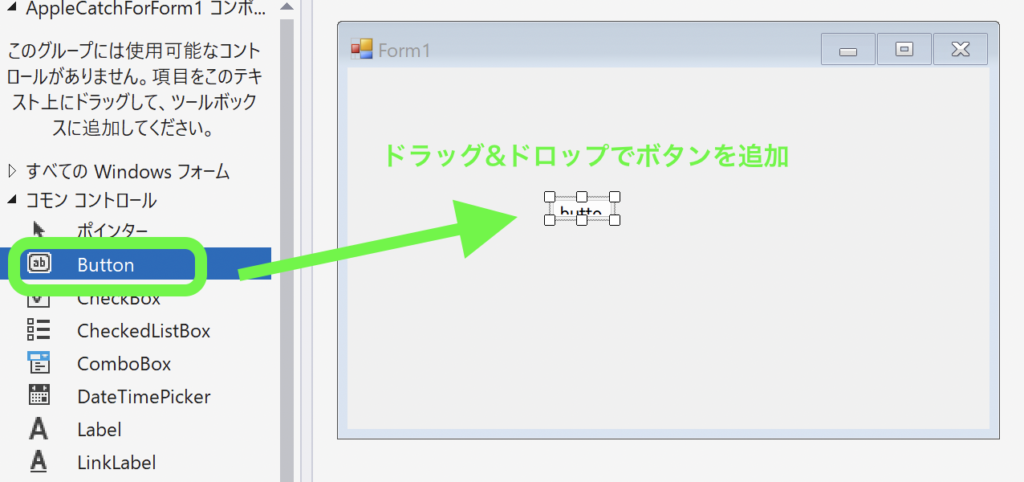
Buttonコンポーネント追加後のForm1クラスのInitializeComponentメソッドのコード
private void InitializeComponent()
{
    this.button1 = new System.Windows.Forms.Button();
    this.SuspendLayout();
    //
    // button1
    //
    this.button1.Location = new System.Drawing.Point(283, 182);
    this.button1.Name = "button1";
    this.button1.Size = new System.Drawing.Size(75, 23);
    this.button1.TabIndex = 0;
    this.button1.Text = "button1";
    this.button1.UseVisualStyleBackColor = true;
    //
    // Form1
    //
    this.AutoScaleDimensions = new System.Drawing.SizeF(13F, 24F);
    this.AutoScaleMode = System.Windows.Forms.AutoScaleMode.Font;
    this.ClientSize = new System.Drawing.Size(800, 450);
    this.Controls.Add(this.button1);
    this.Name = "Form1";
    this.Text = "Form1";
    this.ResumeLayout(false);

    private System.Windows.Forms.Button button1;

}
増えた部分のコードを抜き出すと
private void InitializeComponent()
{
    this.button1 = new System.Windows.Forms.Button();
    //
    // button1
    //
    this.button1.Location = new System.Drawing.Point(283, 182);
    this.button1.Name = "button1";
    this.button1.Size = new System.Drawing.Size(75, 23);
    this.button1.TabIndex = 0;
    this.button1.Text = "button1";
    this.button1.UseVisualStyleBackColor = true;
    //
    // Form1
    //
    this.Controls.Add(this.button1);

    private System.Windows.Forms.Button button1;
}
実行時にButtonインスタンスを作成するためには、この差分を自作すれば良い
// それぞれの名前空間は、usingに定義してあるので省略可能
Button button1 = new Button();
// 表示する位置
button1.Location = new Point(283, 182);
// 名前
button1.Name = "button1";
// 大きさ(幅と高さ)
button1.Size = new Size(75, 23);
// タブキーを押した時の選ばれる順序
button1.TabIndex = 0;
// ボタンに表示されている文字
button1.Text = "button1";
// trueで、ボタンの色を初期状態にする
button1.UseVisualStyleBackColor = true;
// フォームのコントロールリストにボタンインスタンスを追加(重要)
this.Controls.Add(this.button1);
最低限の追記で確認
最低限必要なもの
コード
// それぞれの名前空間は、usingに定義してあるので省略可能
Button button1 = new Button();
// フォームのコントロールリストにボタンインスタンスを追加(重要)
this.Controls.Add(this.button1);
デザイナ
これをForm1のコンストラクタブロックに追記すると実行時にボタンが生成される
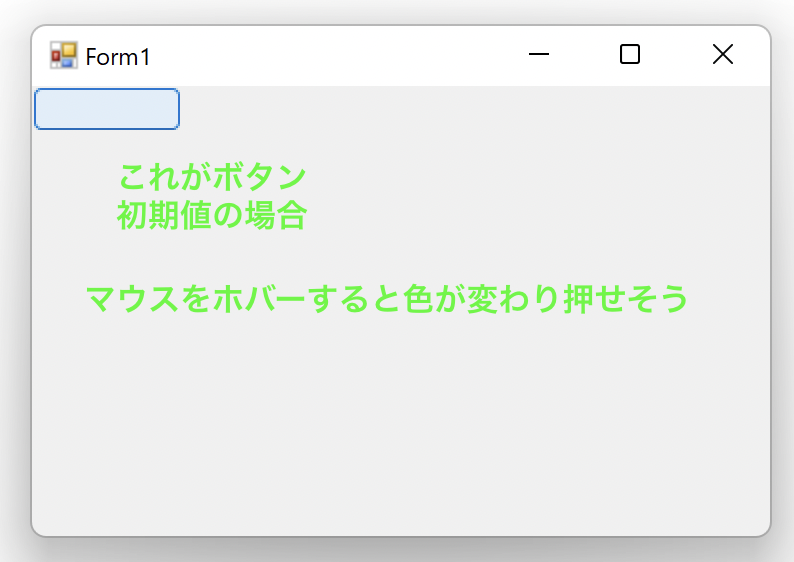
なお、this.Controls.Add(this.button1);は次のようなコードでも代用できる
// それぞれの名前空間は、usingに定義してあるので省略可能
Button button1 = new Button();
// フォームのコントロールリストにボタンインスタンスを追加(重要)
button1.Parent = this;
ボタンクリックのイベントを追加
イベントハンドラを作成
button1.Click += OnButton1Clicked;エラになります
この OnButton1Clickedは、ボタンをクリックした時に実行してほしいメソッド(イベントハンドラ)を指定しています
インテリセンスで、支援します
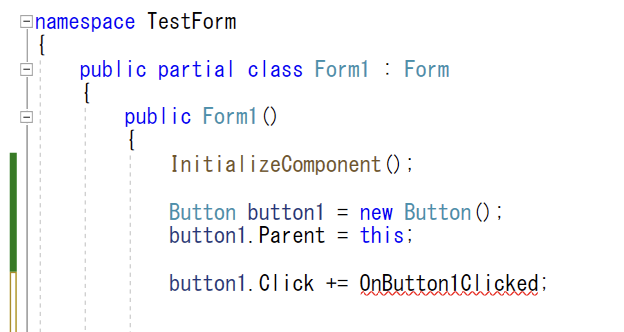
インテリセンスで支援
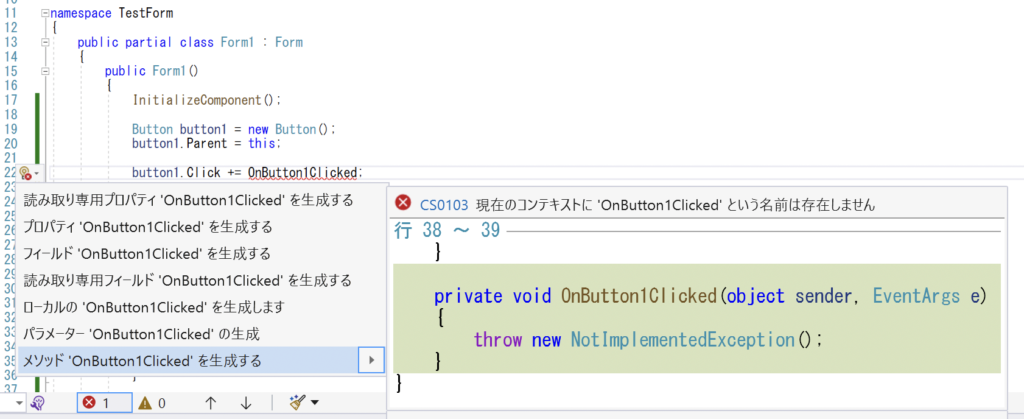
インテリセンスで支援後
private void OnButton1Clicked(object sender, EventArgs e)
{
    throw new NotImplementedException();
}
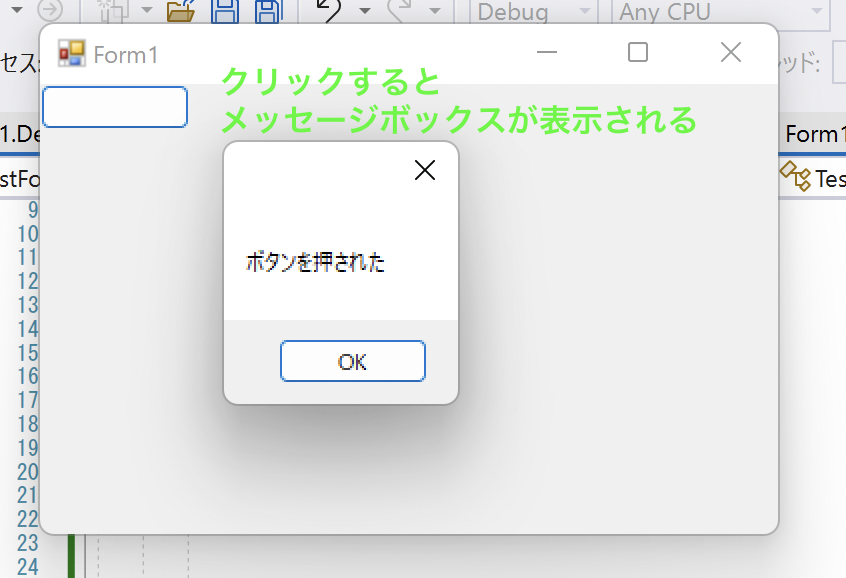
動作の確認用にブロックに分を追加
private void OnButton1Clicked(object sender, EventArgs e)
{
    MessageBox.Show("ボタンを押された");
}
実行結果
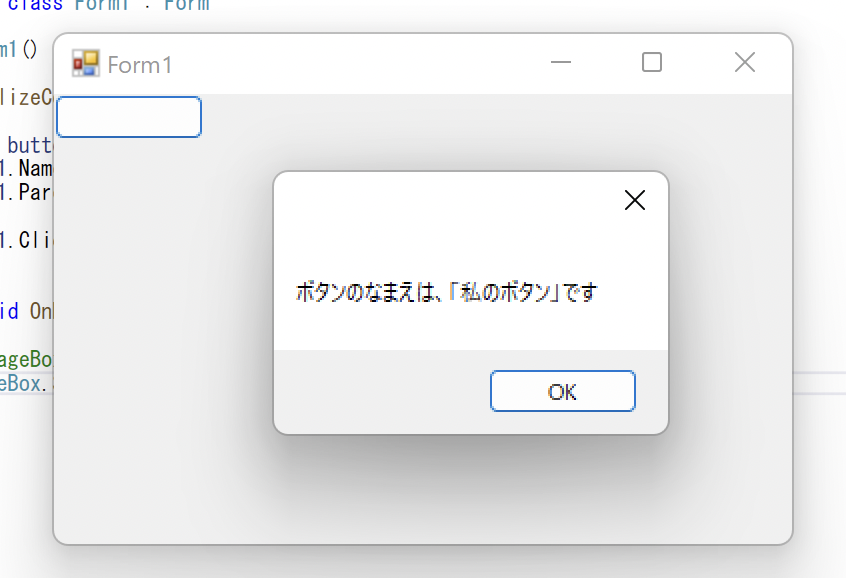
表示にbutton1のデータ(プロパティ)を渡したい
引数のsenderから情報を引き出します
senderは、object型(ルートクラス:全てのクラスの基底クラス)です
なので、Buttonクラスにキャストします。キャストすると、button1.Nameのように扱うことができるようになります
private void OnButton1Clicked(object sender, EventArgs e)
{
     MessageBox.Show($"ボタンのなまえは、「{(sender as Button).Name}」です ");
     // または、
     MessageBox.Show($"ボタンのなまえは、「{((Button)sender).Name}」です ");
}
全てのコード
using System;
using System.Windows.Forms;

namespace TestForm
{
    public partial class Form1 : Form
    {
        public Form1()
        {
            InitializeComponent();

            Button button1 = new Button();
            button1.Name = "私のボタン";
            button1.Parent = this;

            button1.Click += OnButton1Clicked;
        }

        private void OnButton1Clicked(object sender, EventArgs e)
        {
            //MessageBox.Show($"ボタンのなまえは、{(sender as Button).Name}です ");
            MessageBox.Show($"ボタンのなまえは、「{((Button)sender).Name}」です ");

        }
    }
}
実行結果
コントロールクラス(Control)とは
ボタンやテキストボックス、リストボックスなどツールボックス(ウィンドウ)に格納されているクラスの基底クラスです
Formクラスでは、これをリストにしたものを確保しています。ウィンドウに表示させたい場合は、必ず追加する必要があります
コントロールのインスタンスを消滅(破棄)させたい場合
button1.Dispose();


ディスカッション
コメント一覧
まだ、コメントがありません